

Renting Farmland
Starting in her mom’s backyard, Buds and Botanicals has been through a lot of changes in its first few years of business. Nicole was given the opportunity to rent 2 acres of farmland to grow her fresh cut flowers. This came with many pros and cons. We hope this blog post can help others who are searching or given the opportunity to farm on rented land.

For those who don’t know how Buds and Botanicals started, it was in my mom’s backyard! I had dropped out of college, my dad just passed away from cancer, and we were in the middle of a pandemic. I knew I needed a job, so I started to look for anything flower and plant related. What started out as a delivery driver for a wholesale flower warehouse, soon turned into the job opportunity to become a head grower on a 20-acre farm and greenhouse growing flowering annuals and hanging baskets. While being the head grower here for a few years I was given the opportunity from my employers to "rent" their un-used field space to grow my cut flowers. By rent I mean grow there for free with no contract. At the time I had a lot of trust in these people and thought it was a dream come true. Growing my business and farm right where I worked 50-hour weeks already? Perfect and convenient! So, I began expanding from my small backyard plot to a new 2-acre open field. This was a big risk and looking back I'm not sure If I would do it again. I spent thousands of dollars on compost, seeds, landscape fabric, drip irrigation, etc. After about 2 years of growing and expanding on this plot I barely broke even and was not growing good quality crops due to many different factors, the biggest being compacted soil and not always being on sight to monitor the crops!


After about 2 full years of growing on this plot, my employment quickly went downhill and the job I once loved had become a toxic workplace. I knew I had to look for a new job, but what would I do with my farm and all the crops growing here? I knew that I had to get an official rental contract before I could put in my 2 weeks’ notice and look for a new job.
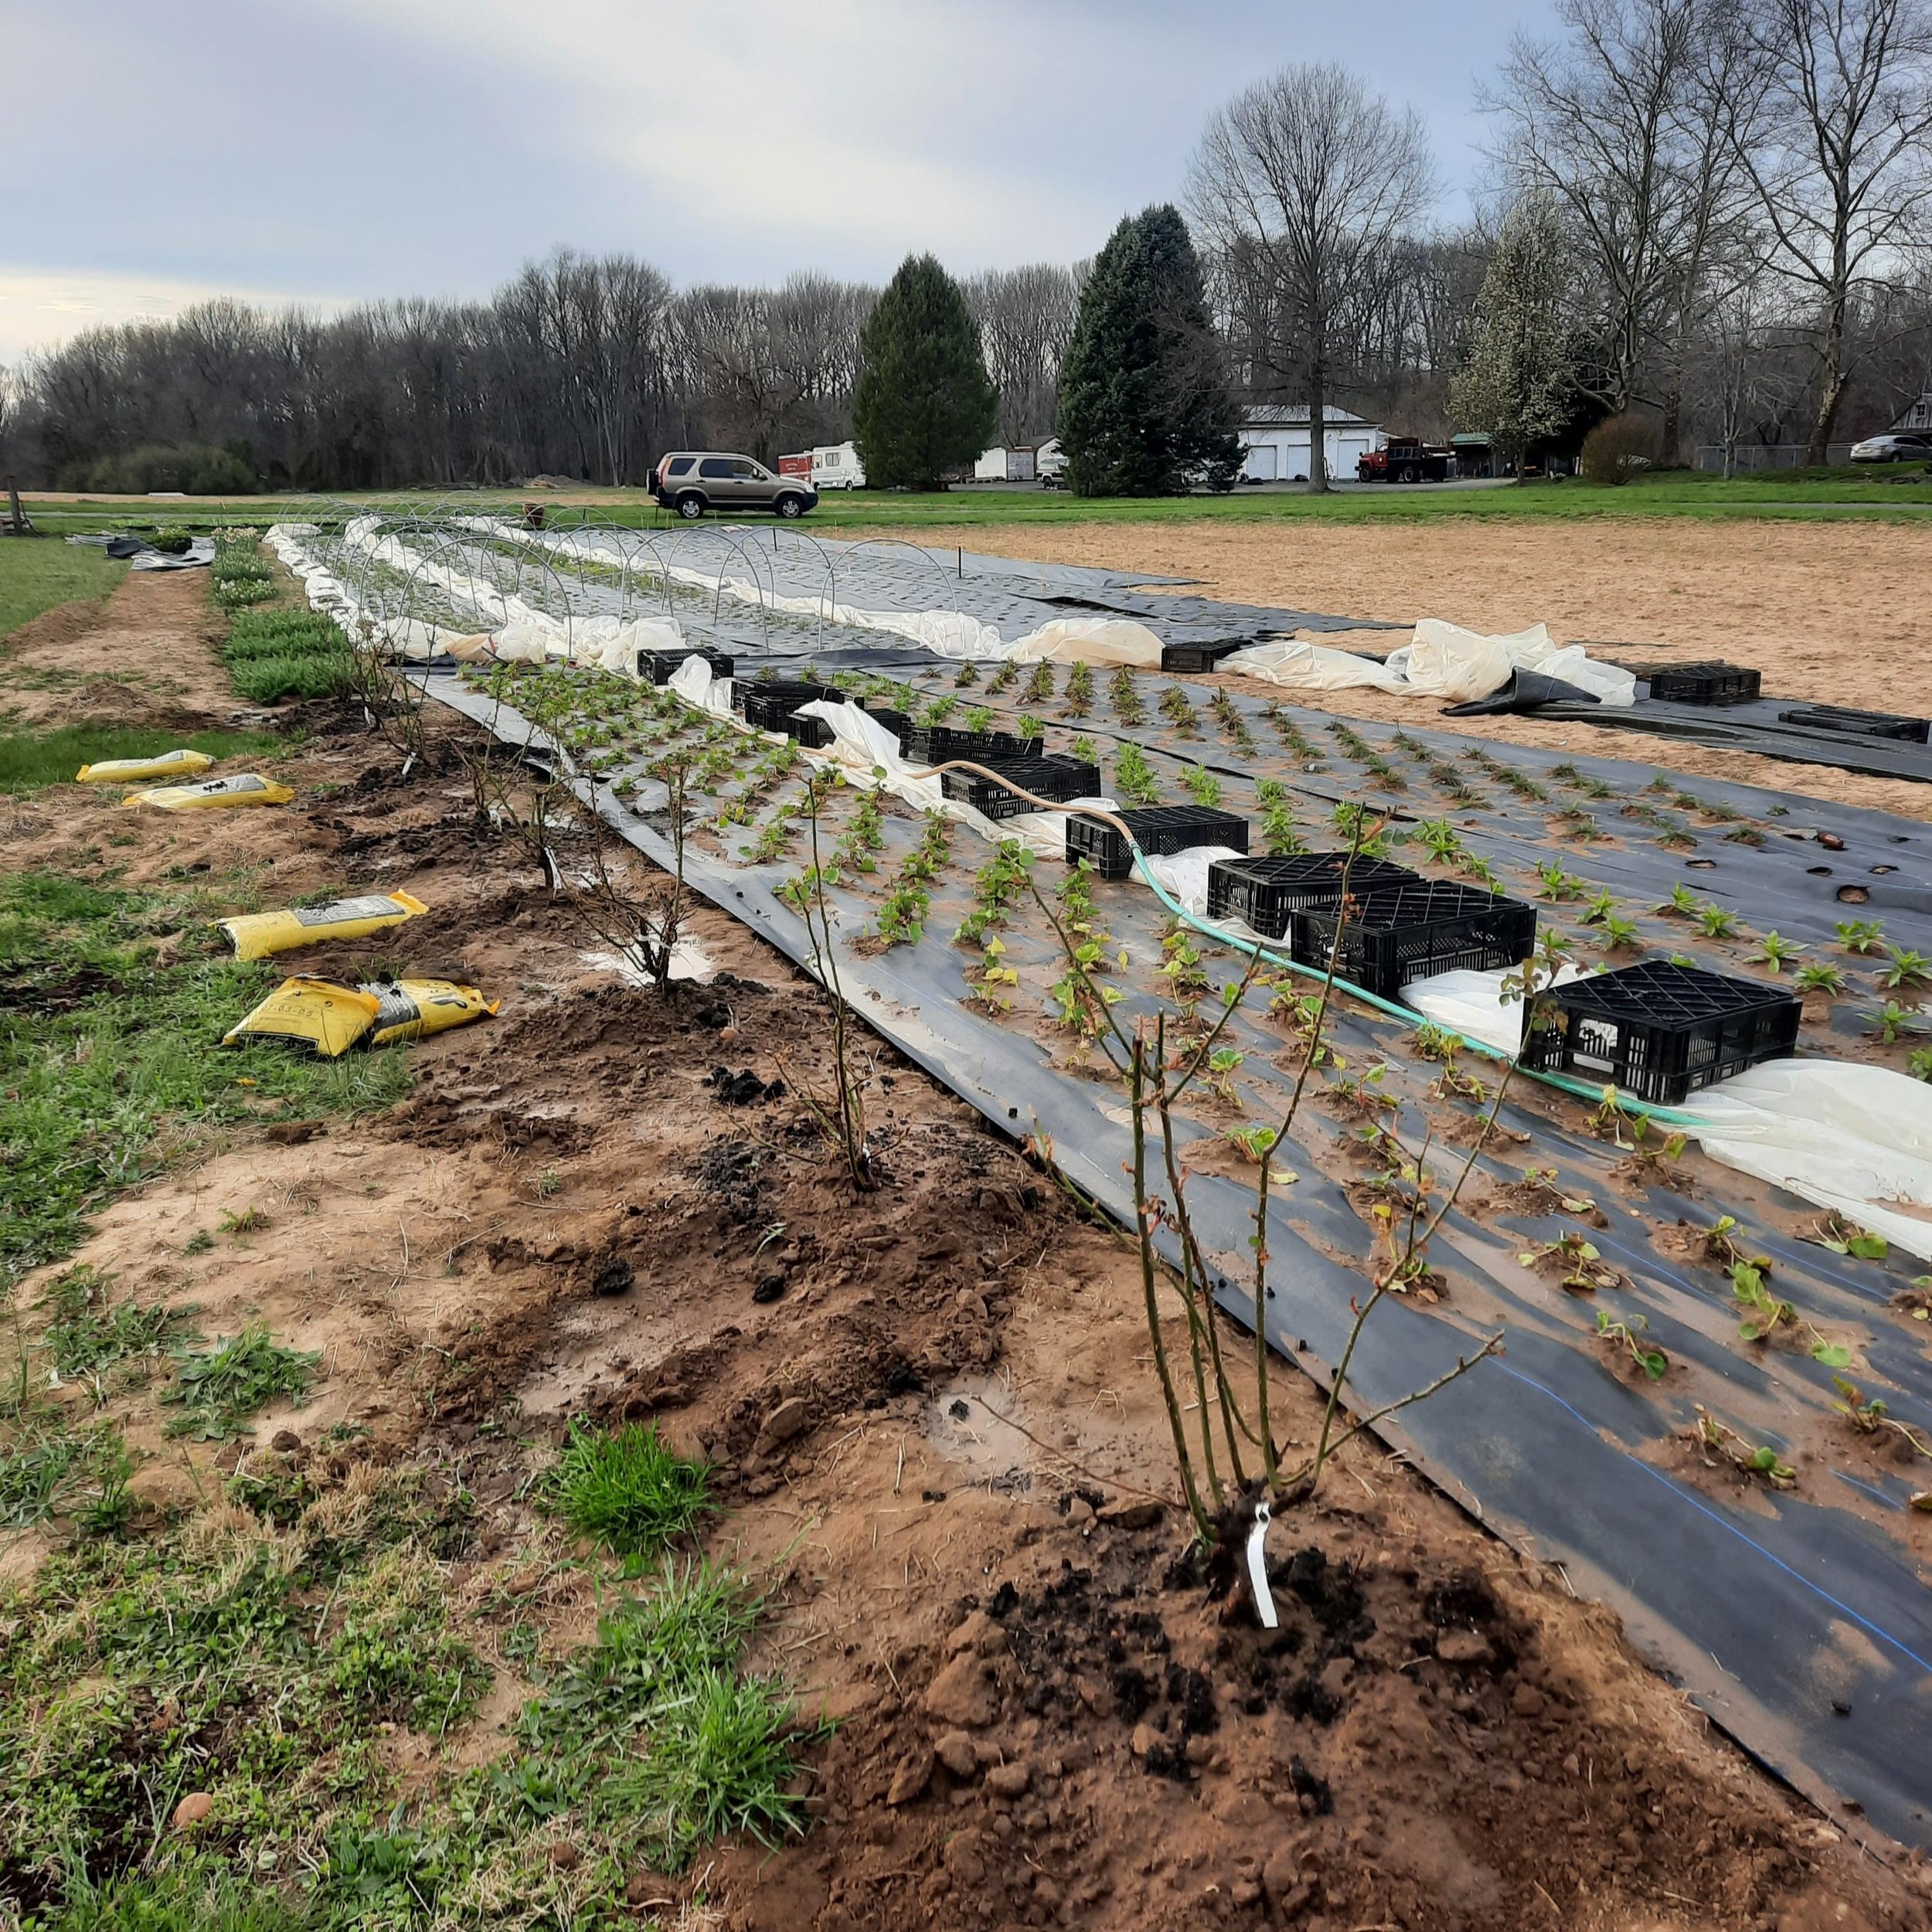
Below are some photos of the rental plot we were using. This was a huge expansion for my business.


There are many websites where you can get templates for land leases. The best option is to seek out an attorney or lawyer who is a professional and can protect your best interests. In my personal situation, I did not have the time nor money to get an attorney, so I used one of these free resources. If this were to be a more official and permanent situation, I would definitely want to hire an attorney. My reason for a lease was more so as a last stitch effort to protect my crops that were already planted there. This lease gave me an official year to finish the season and move everything out, with or without being employed at this farm.
Dealing with landlords that did not want to sign anything and make an official contract was difficult. The first step was to go through the lease and adjust anything the landlord wanted so we could both agree and feel comfortable. After I got a signature, I made sure to get a certified cashier’s check to make this official. Although the landowner refused any money, it had to be exchanged in order to make this contract "somewhat" official, so I did a one-time payment of $100 to lease this land for one more year regardless of being employed for their company or not. This gave me the freedom to get a new job and not lose my crops. A week after this contract was signed, I got a new job and put in my 2 weeks’ notice- The rush was on to find our new property in under a year!


THINGS I WOULD SUGGEST:
Hire a lawyer to make your lease official, especially if this will be a long-term situation. I used a free template of a lease online because I was in a rush and just needed to somewhat protect myself for one final year to get through the season. Even if you know the landlords personally you NEED a lease! People and plans change. Even if you are friends with the landlords this contract is to protect you and your business!
Make it a multi-year lease. Farming leases are seldom one year. It's hard to plan and grow your business if you are unsure of if you can grow there the following year. For example, I plant a lot of flowers in the fall that get over wintered and bloom the following spring. If I can't guarantee the land for the following season, then I wouldn’t have any flowers to harvest that next Spring!
Include any parameters like electricity usage, parking, dumping area, trash disposal, storage, hours you can work there, noise restrictions, building restrictions like temporary greenhouses. Think of every little detail to protect yourself. For example, in my situation, once I put in my two weeks’ notice at my job, all of a sudden, I was told I couldn't work on my rental field on the weekend... How would I get any work done if I worked M-F and now couldn’t even work on the weekend? Unfortunately, my lease didn't cover specific working hours, so I had to respect the landlords wish and my crops suffered even more! Below are some photos of greenhouse space I was able to use to grow winter Tulips and Fall Chrysanthemums. This is something you would want to include in your lease.


Think big picture! One of my biggest regrets, is investing so much money into this rental plot of land and not making much of a profit in those first few years. Think about soil, cover crop, etc. How are you spending your money to improve someone else’s land? Ask yourself if this is a temporary growing space or more permanent? Keep in mind no rental spot is ever permanent unless you eventually buy it. I wish I would’ve grown simple, low costing crops to make some quick money rather than perennials and peonies that take a long time to get profitable harvests and then had to dig up when we moved. If I grew quick annual crops like zinnias cosmos, and dahlias I could’ve made more money with a lower overhead cost. What is your end goal with this plot of land?
Think about your travel time. My rental plot was 15 minutes away from my apartment. It seems like a short distance until it’s a 105-degree day and your crops need water, or if there was a snowstorm over night and you need to sweep off your tunnels, so they don't collapse under the weight of the snow, but now the roads are closed. Is there a bathroom on sight you can use? How about drinking water? These are all important things to consider!
Mailing address VS physical address. Can you advertise to customers that this rental plot is "your farm"? Can you have on-farm workshops or pickups? I wasn't allowed to have on farm pickups unless they were already customers of the greenhouse I was working for- This is something I wish I thought more about!
You will need insurance- I had personal business insurance and had to list my rental plot as one of the locations I do business at. This was required by the landlord in order to make the lease official. From their point of view it makes sense, they don't want to be held liable for anything related to my business.


Ultimately, everything happens for a reason, and I am happy I was given this opportunity to become a professional grower, learn the ropes, expand my business, and meet so many other people in our industry. Without this rental experience (the good, bad, and ugly) I wouldn’t be where I am today- Renting farmland can be a great opportunity and is very popular across the US. Please keep in mind, this blog post is based off my own personal experience. Each situation is different. As long as renting land is done professionally to protect yourself, it can truly transform your business!

How to make Low Tunnels
How to grow flowers all winter long with low tunnels!

Here is our first winter with low tunnels on our old rental plot of land. As you can see the weight of the snow collapsed some of the tunnels, and to the far left you’ll notice where the wind ripped off the plastic. Year after year we learned from these mistakes!
As we get into the summer months, winter is the last thing we want to think about, however as a farmer we always need to be planning for the next season ahead. Here in South NJ we are zone 7 which means we do get freezing temperatures, but we are mild enough to overwinter a lot of crops without heated spaces. When I first started growing flowers, it was impossible to harvest bucket loads of blooms for Mother’s Day - my busiest Holiday! I had to turn down multiple customers because I didn’t have enough flowers to harvest. May is a tricky month for farmers because your early bulb crops like Tulips and Daffodils are done blooming, and you are just starting to plant your heat loving summer annuals. This is where low tunnels come into play!


If you are a small farmer like me, or a large farm looking for a simple way to overwinter crops, then low tunnels are a great choice! Since my new property is mostly wooded, we have limited space for a 100' high tunnel but can fit multiple 40-foot-long low tunnels. We have used both 100’ long low tunnels as well as smaller 40-50’ low tunnels. You’ll see photos of both throughout this blog post. Personally, we prefer smaller rows therefore smaller low tunnels. Smaller tunnels are easier to manage and less prone to weather damage. These are generally cheap, easy to install, and long lasting throughout the years and weather. We hope that this simple blog post can help give a broad overview on the best materials to use and mistakes we've learned throughout the years.


MATERIALS YOU’LL NEED:
(Not sponsored)
EMT Conduit (1/4 to 1/2 inch). You will need 9 foot sections. We got our conduit from Home Depot.
Hoop bender (unless you can score some pre-bent hoops from another farmer). We sourced our hoop bender from Johnny's Seeds.
Rebar (do not use flimsy fiberglass rods).
5 mil plastic film or whatever you have on hand. We get recycled plastic from our places of employment (perks of working in the greenhouse industry!) In previous years I have bought frost cloth and plastic from the company Ground Cover Industries, Johnny’s Seeds, a local farmer, or your local AG supply store.
Tar coated string or wire (Home Depot, hardware store, or Amazon).
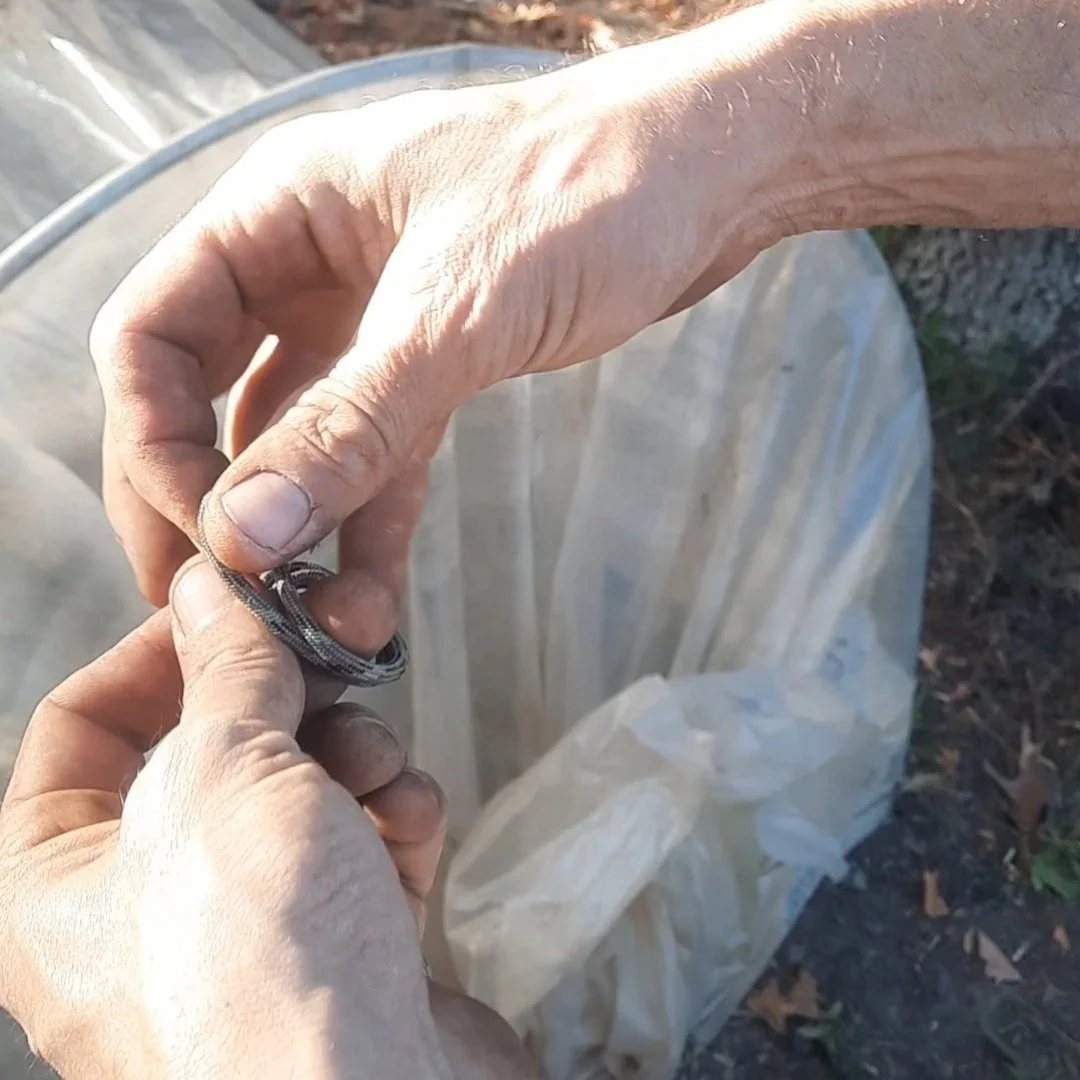
Durable, weatherproof rope (not twine). We use spools of paracord from Amazon: Amazon.com : Paracord Planet Paracord (50+ Colors) - 1,000 Foot spools - 250 Foot spools - 100 feet Hank : Sports & Outdoors
STEPS:
STEP 1: Cut your Rebar into 2-foot sections.
STEP 2: Place your rebar into the ground on either side of your flower bed. We space the rebar about 6 feet apart on our flower beds. Hammer down your rebar until its about a foot into the ground and a foot above ground.
STEP 3: If you have straight pieces of EMT conduit you want to cut these into 9-foot sections. Once they are cut you want to bend them using your hoop bender. If you are in an agricultural area, you may be able to score some pre-bent hoops from a farmer! We use the Johnnys hoop bender that has great tutorials. Our hoops are about 4’ wide and about 3.5’-4’ tall. Don't worry, you'll mess up the first hoop... It gets easier with practice!
STEP 4: Place your pre-bent hoops onto each piece of rebar along your low tunnel.
STEP 5: Place a 2-foot cut piece of rebar at the end of each flower bed in the ground at an angle facing away from your tunnel. This is how we fasten the end of the tunnel to the ground.

Put your piece of rebar at the end of each tunnel on an angle. When you loop your paracord around the top of each hoop, you fasten it to this piece of rebar giving your whole tunnel structure and stability.
STEP 6: Using your paracord, fasten it to the piece of rebar at the end of your tunnel and then loop it tight around each hoop. Go down the whole tunnel. You are essentially looping each hoop together with the paracord. When you are done, you should have one piece of paracord running down the top ridge of your tunnel.


STEP 7: Cut pieces of wire and twist these around the bottom of each hoop and make a loop to put your paracord through.

Here is the paracord going through the wire loops that are put on each end of our hoops. This is how we keep the plastic on the tunnel.
STEP 8: Time to put the plastic up and fasten it on with your paracord! You are going to make a loop on one end of your paracord and put it through the wire loop on one side of your tunnel, then over top and through the other wire loop. Once this paracord is through both wire loops, meet both ends on the top of your tunnel. Make a simple loop knot and sinch the paracord tight.


STEP 9: At the end of your tunnel, you are going to bunch up your plastic (do not twist it). Once the end piece of plastic is bunched together, fasten it tight with string. We do an additional step of using a scrap piece of EMT Conduit to fold the bunched plastic over and tie tight. We only do this additional step to simply save space at the end of our tunnel, rather than having the bunch of plastic laying there. The final step is to put your piece of paracord through the wire loops on either side of your tunnel and fasten tight. This is the same process that you did along each hoop. There may be some open space at the end of your tunnel near the ground. This is ok! Plants are tougher than you think and can handle this little opening. You may notice some slight frost damage to the plants at the very end of your row.


Key Notes:
Make sure you are using wire or tar coated string to fasten your paracord to each hoop. This connection point is essentially what keeps your plastic tight on your tunnels despite high winds. My first year I used twine, and one strong windy day all the twine snapped, and my plastic was blown off. What a mess!
Make sure you are using tough string to go over the plastic on each hoop. We use paracord. You don’t want any string to snap! Stronger string also allows you to scrunch up your plastic to vent your tunnels.
Use rebar in the ground, and nothing else! When we first learned about low tunnels, we were told to use fiberglass rods to put the hoops onto. Biggest mistake ever! Not only did I waste money on the rods, but everyone snapped in a storm and my plastic flew off!
At the end of each tunnel do not twist the plastic, just bunch it together and tie. By twisting the end of the plastic, you are actually lifting up one side of the plastic tunnel while twisting. It’s better to just scrunch all the plastic together, rather than twist. (Think of it as bunching your hair into a ponytail rather than twisting it into a bun!)
Venting is so important! Since these are small tunnels, they can get hot very quickly. On a sunny winter day, it may be low 40s outside, but high 70s in your tunnels! Most cool flowers prefer low temperatures. Slightly scrunch up the plastic during the day to ventilate.


Flowers I Overwinter Using my Low Tunnels:
Ranunculus
Anemones
Delphinium
Snapdragons
Campanula
direct sown crops like Larkspur, Nigella, Bupleurum and Bachelor Buttons
Foxglove
Agrostemma
Stock
Orlaya
Pansy/Violas
Poppies
Daucus (ornamental carrot)
Some of these crops are so cold tolerant they can survive even without any covering, or just simple frost cloth!


Below are some photos of what our low tunnels look like today. As you can see our property is mostly wooded, so we changed from 100’ long rows to smaller 40’ rows. The tunnels have withstood 50MPH winds, heavy rain, and snow! We are set to have an abundance of flowers for Mother’s Day this Spring. I hope this tutorial can help you have an abundance of blooms as well!


